
For a long time I only sewed woven items, mostly because knits scared me. There just seemed like so much could go wrong, especially if you even touch the fabric while stitching. Once I got my new sewing machine, however, and bought a walking foot, I felt like I was ready to take the plunge. To be honest, most of what I actually wear is knits because they are so comfortable. When we decided to go to Disneyland over the Christmas holiday, including a fancy Christmas Eve dinner, I really wanted to make something that would look nice, but still be extremely comfortable if we went back into the theme park area after dinner.
I decided on the Appleton dress, because it is the first Cashmerette pattern I had ever purchased (back in 2015 – this was deeply stashed), and because I have always wanted a wrap dress. I also thought it would be a great choice to bridge the fancy but practical, and that I could potentially even wear bike shorts or something underneath for extra coverage on rides if I needed to.

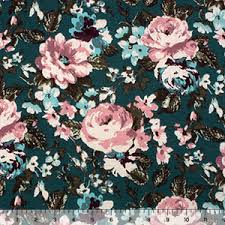
I ultimately chose fabric for this magical Christmas dress from Hawthorne Supply Co.’s print-in-house “Winter Florals” collection designed by Indy Bloom. I love their in-house stuff, because I can choose exactly which fabric I want in the print I want, and I don’t have to worry about trying just “make it work” to get a great print. You can also choose the width of the fabric, which means you can get more pattern pieces on the same piece and buy less overall (though I admit I haven’t quite figured out how to not overbuy on yardage exactly). I chose the “Poinsettia Berry” print in the color midnight in an organic cotton jersey.

I decided I would do what smart sewists do and make a muslin in a similar fabric first. I had previously purchased some cotton jersey fabric from Girl Charlee Fabrics, and while it was thinner so the drape was a bit more flowing than the Hawthorne Threads fabric, I thought it would work. Of course I held onto the dream of sewing dreams, that my first muslin would work well and be wearable, so I made it just before Thanksgiving.
Doing a tissue fitting in the mirror I realized that the waistline and hip curve were too high. I attempted to lower the waistline by 1″ at the actual pattern waistline, and while it worked to put the hip curve and waist at the correct spot, I didn’t like the empire look that it gave the dress. With my bust, I look more balanced with my true waistline defined. Essentially the waist ties needed to be moved down as well. The front drape also was a little crooked, such that I had to tuck about an inch of the edge of the front wrap up into the ties when I wore it to create a straight line. Of course I only got a selfie-style picture of my face in the dress.

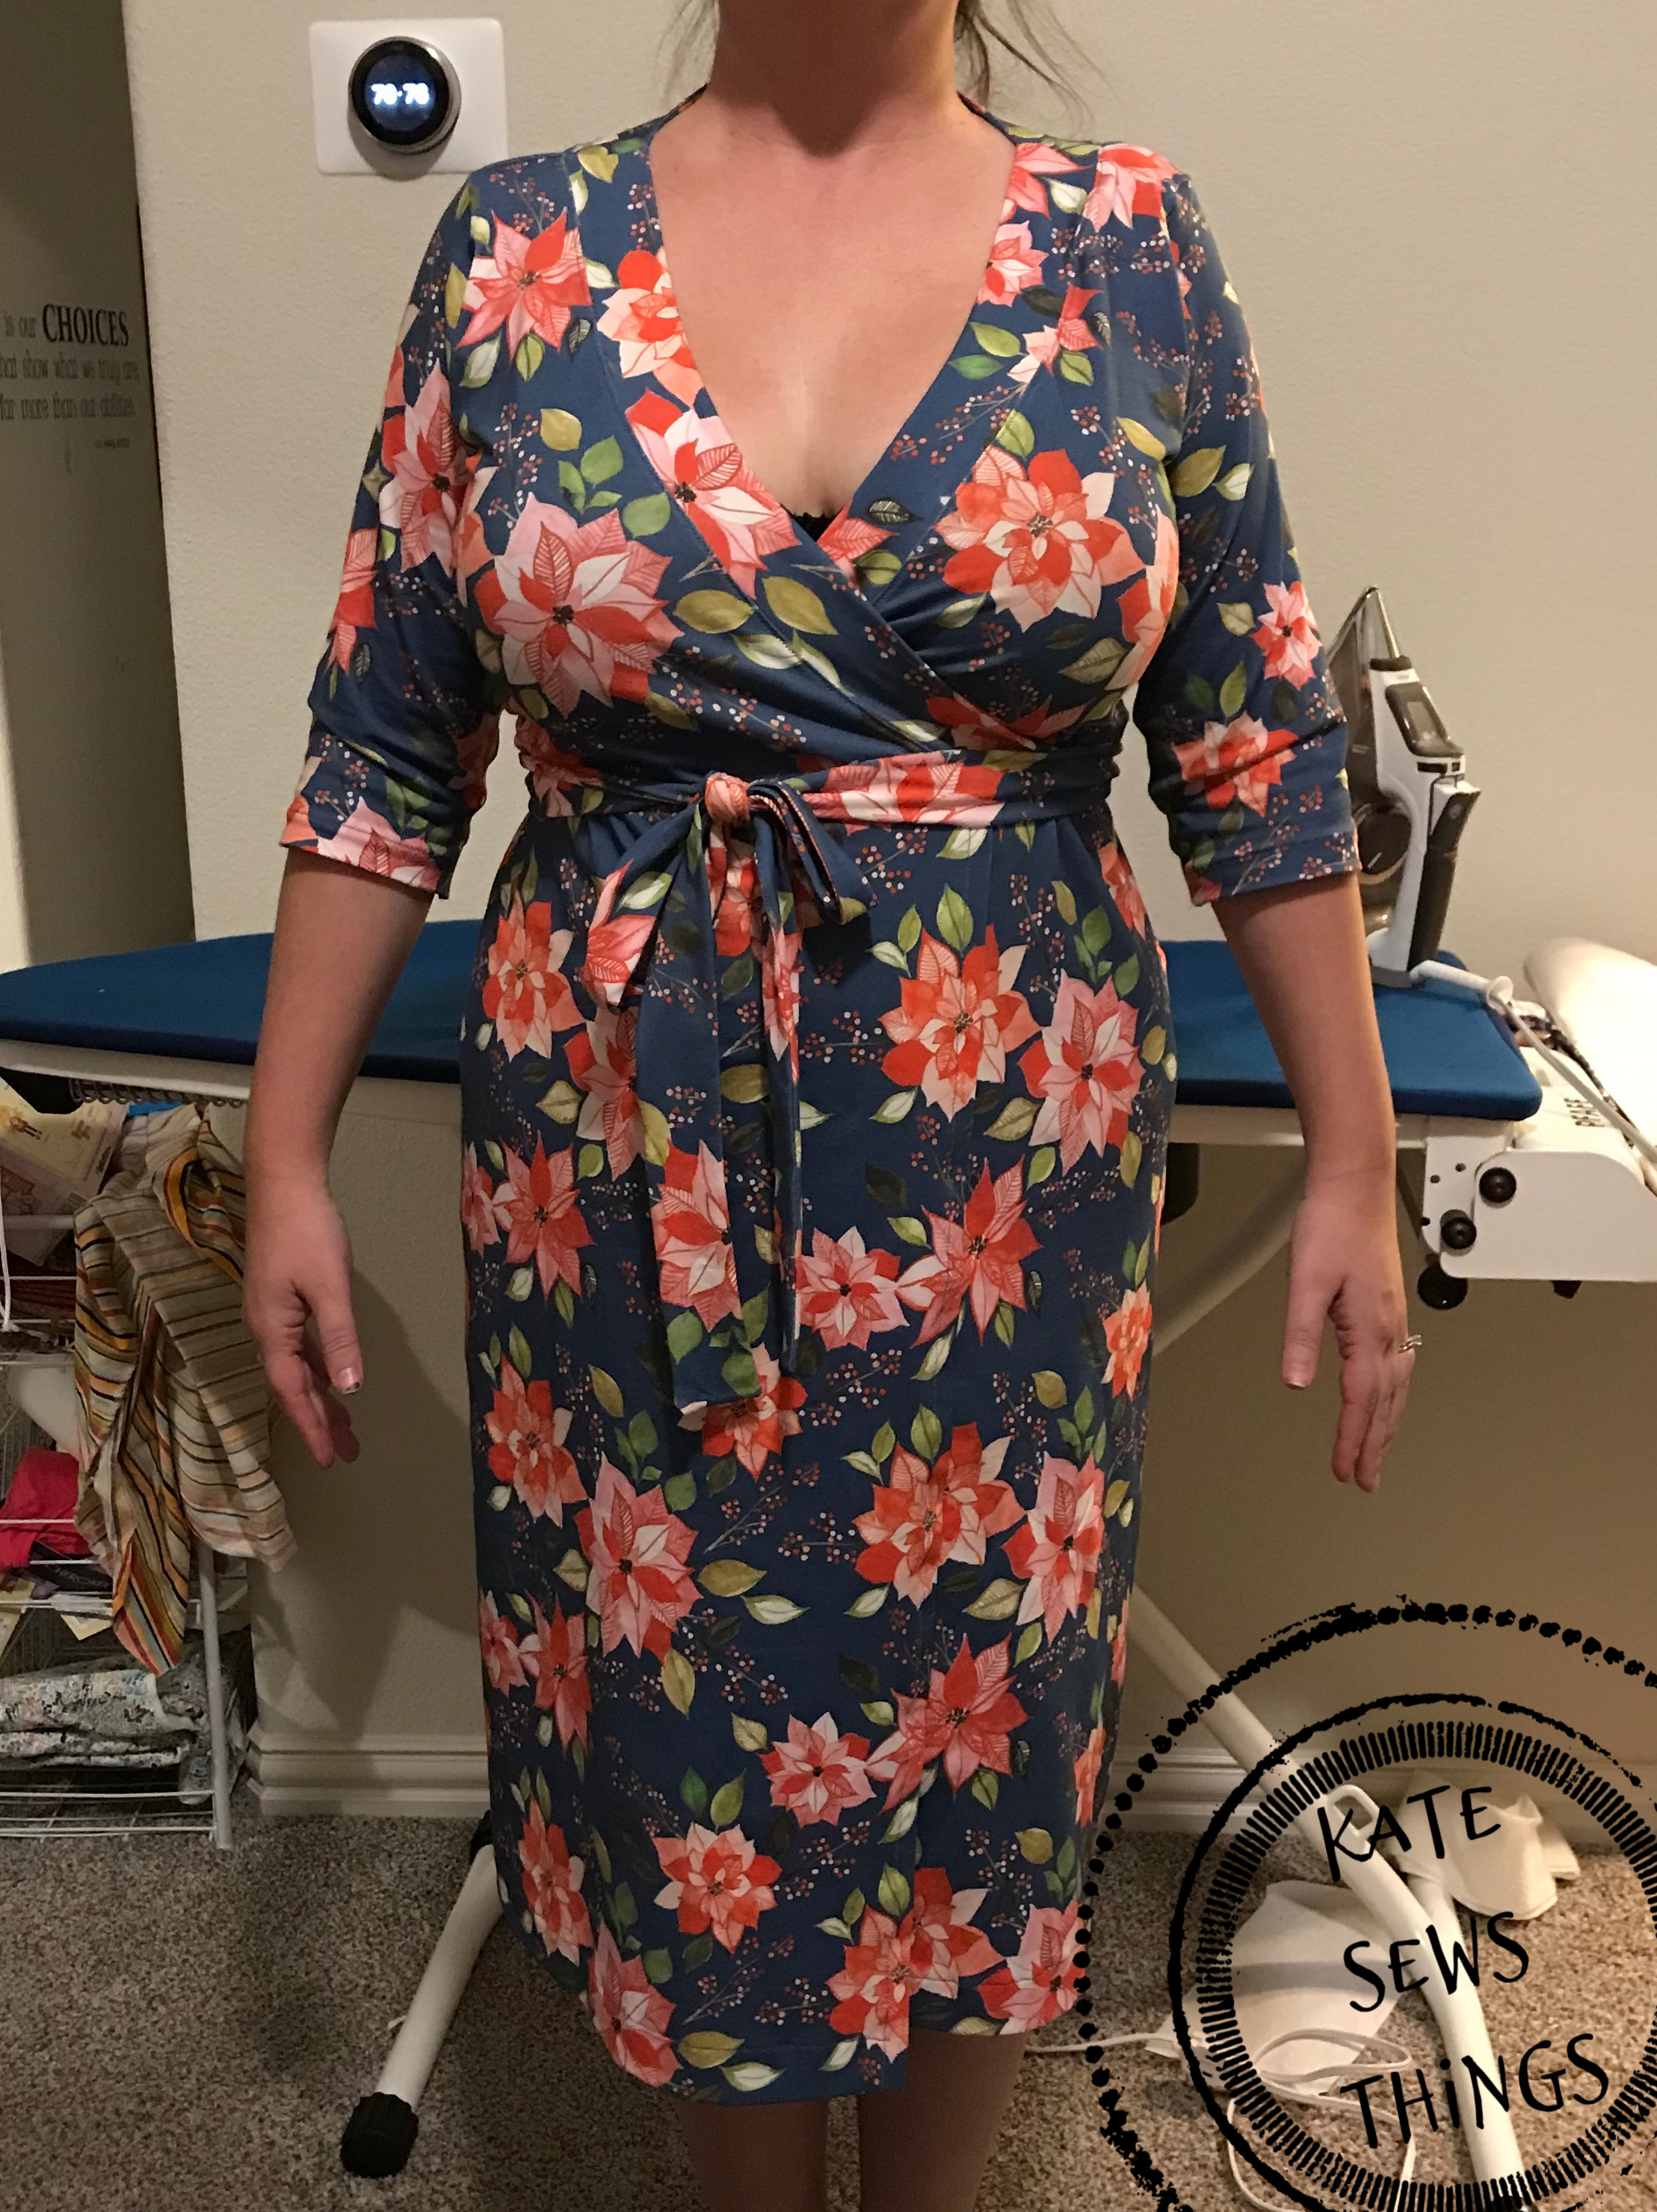
For the second version of the dress, the Christmas fabric one, thinking I had figured out all my problems, I tired to lower the whole bottom of the dress between the bust area and the waist ties themselves. I didn’t end up adding length into the neckline but instead just below where the ties come out. This still put the waistline and hip curve in the correct place, and the HOLE for the ties to be lower, but the waist ties themselves still came out from the neckline too high up. I also still had a crazy crooked front drape (see the line I drew on the right picture). My bust was also straining to get out of the top, and my bra was clearly visible in the front.

I went ahead and wore my dress to Christmas dinner, but I did not get any pictures while there due to a mishap during dinner. Somehow my darling husband managed to smack an entire glass of red wine onto my person, covering the whole left side of the dress. So after sitting uncomfortably for the rest of dinner with the entire restaurant staring at us and the mess that was made, we just went back to the hotel so I could clean up. Oh, then my husband got the flu. 🙂
I ended up emailing Cashmerette directly, and sending a bunch of awkward pictures plus my measurements along with questions. It was advised that I add my 1″ directly through the bustline, and extend the neck band at the same line 3/4″. Then instead of cutting a smaller right front than left front, cut two left fronts, making both wrap pieces the same size. Apparently the updated version of the pattern has that last bit already.
Since I had already completed the Christmas dress, I didn’t know when or what I wanted to make for another Appleton, though I know I wanted to eventually get back to adjusting things. When the Sewcialists came up with the “power word” based mini challenge last weekend, where I got the word “spicy,” I knew the Appleton would fit the bill. I found some cotton jersey fabric in my stash that I had bought from Girl Charlee in January in hopes of making a Valentine’s Day dress (which obviously didn’t happen) that would fit my idea of spicy.

Here is where the original bust line was (the short black line), and where I moved the new bust line to 1″ down. You can also see how I redrew the bust side edge curve. It actually wasn’t as big of a new line as I originally expected. The 3/4″ added to the neckband didn’t change the angle or anything, and was very easy to redraw.

The front drape was perfectly in line, and the coverage in the bust area was much better. I could wear this out without my bra showing, though I still would wear a camisole for working with children. It also moved the waist ties down to my actual waist, which is much more flattering. I feel like with an empire style it really emphasizes my bust, but this way it emphasizes my entire shape.

I’m apparently terrible at posing for pictures to show off the garment. Also, I need to find a place in or about the house that has better lighting. I may also need to invest in a selfie-style bluetooth something to take pictures, because it was difficult to explain to my husband (who assisted here) exactly what I wanted.
Here is the official review that I will be posting on Pattern Review:
Pattern Description:
The Appleton pattern is a wrap dress made for stretch knits.
Did it look like the photo/drawing on the pattern envelope once you were done sewing with it?
Yes
Measurements/Size Used:
UB: 34″
B: 40″
W: 33″
H: 41″
Size cut: 12 G/H
Were the instructions easy to follow?
Fairly easy. I got hung up when attaching the neck band every time toward the end where the ties come off the edge, and it shows a portion of the seam allowance that should be hidden. I am not sure if it is just that I am not understanding, or how I am doing it. I did it on all three versions.

What did you particularly like or dislike about the pattern?
I initially used the first version of the pattern, where the front wrap pieces are different sizes. The frontmost piece doesn’t really go all the way around, and I felt that the dress could fly open at any minute. After emailing Cashmerette about a different fitting issue (with my bust), it was recommended to use the same size piece for both, and that helped a lot. They have since updated the pattern so that this is standard.
Fabric Used:
Cotton jersey in varying degrees of stretch for each of three versions.
Pattern alterations or any design changes you made:
I ultimately added an inch of length directly through the bust line, and 3/4″ to the neck bands at the same place, to move the waist ties, waist line, and hip curve down to accommodate my long torso. It also helped with the difference between my bust and under bust measurement. While Cashmerette does have cup size pattern pieces up to an H, the way sewing cup sizes are measured is difference in high bust and full bust. My under bust is even smaller, and actually even with my waist measurement, and due to that it makes me need even MORE length in a pattern (on top of the long torso). I also lengthened the ties by about 8″ because I like them to hang long.
Would you sew it again? Would you recommend it to others?
Once I made this last rendition, I really liked the fit and how flattering it is. I still think I will feel more comfortable wearing a camisole underneath for work due to the fact I work at a school, but it otherwise offers great coverage.
Conclusion:
This is the first knit Cashmerette pattern I have made, and I really liked it once I got it to fit my shape.

Thanks for taking the time to read my first official pattern review on the blog! I loved the mini challenge idea, because it really got me to stop what I had been slowly working on (sewing a bodice sloper – to be blogged about later on) and sew something fun. I am ready to get started on my #makenine2019 next! Also, this was the first sewing attempt since we let the twins roam the house. It was fairly chaotic. In addition to them, I had my normal two sewing helpers, our small dog and the older brother cat, which I am used to shooing off! The twins did like their own fabric scarves, though, at least for a while.

**None of the links added are affiliate links, unless linking to Amazon, but used for your convenience!


Yay, great review. I have the Upton, and seeing a review from my measurement twin makes me feel a lot more confident I can make it work. I’m afraid of knits, by the way, even though I have a serger. I really like this dress though and I’ve always had a hard time finding wrap dresses that work so I’m thinking I may give this one a try when my sewing schedule clears up (I have youth theater costuming for the next couple of weeks).
LikeLike
I think this is a great pattern to start with for a knit. The wrap means that there are very few spots where things can get over-stretched when attaching, like a neckband in the round, or a set in sleeve.
LikeLike